

Last summer Billy and I got married on the beach in a very small ceremony. We hadn’t been sure what the wedding turnout would look like when we were planning our wedding in the midst of quarantines.
Then we looked at venues in our area that could accommodate guests overnight. When we saw that price we started looking at beach house rentals instead.
We thought getting a getting a beach wedding / vacation for the same price as a local 24 hour rental was pretty savvy.
Since it was a super casual beach wedding, in the summer heat, I wasn’t sure what my daughters should wear. My oldest is picky and likes to be comfortable, and my toddler is messy and wild!
I wanted them to feel beautiful but be cool and comfortable. I also wanted an outfit that would look good in pictures even if someone fell in the sand or spilled drink down the front of themselves. I definitely didn’t want to worry about keeping everyone clean on the beach, but I still wanted some great pictures for memories.
I was looking for matching dresses but as my youngest was 2 and the other was turning 12 it was challenging to find dresses that would match. There were matching dresses out there but a lot seemed either too fancy or too casual.
I ended up buying white cotton-blend sundresses on a whim. I considered different ways I could add color to the sundresses.
My favorite idea before I decided to dye them was to add ribbons to the shoulders and waist. My oldest definitely felt uncomfortable wearing white as a Jr. Bridesmaid, but many flower girls I had seen wore white and I had been trying to get them to match.
Since it’s easier to please my toddler with any dress, I decided to dye the dresses in a similar style.
I wanted to try ombre because I knew it was my best chance of getting the dresses to have some matching colors since dyes don’t always take to fabrics the same way even if they are very similar. With the graduated colors on the dresses, I figured they would look like they matched even if the colors didn’t match up perfectly.
While this was a time commitment, I thought it was worthwhile. The girls loved their dresses! My favorite part was the dresses are fancy enough they felt beautiful, but casual enough they wore them many times over the rest of the summer and into fall. It made me super happy to see the girls still enjoying their dresses and knowing that they weren’t something they would wear once and throw in the back of the closet.
Materials (Click Ingredient Items to See My Favorites)
- Cherry Red All Purpose Dye
- Rit Colorstay Dye Fixative
- Stockpot (NO COOKING IN THIS POT AFTER YOU USE IT FOR DYING)
- Stainless Steel Spoon (NO COOKING WITH THIS AFTER YOU USE IT FOR DYING)
- White Cotton Sundresses
- Hangers
- Gloves
- Dish Detergent
- Salt
- Papertowels
- Plastic (to protect surfaces you don’t want dyed like your floor, I usually just grab lawn & leaf bags)
- Milk Jug or Measuring Cup
Things That Will Make Your Life Easier
- Thermometer Lazer Gun
- Extra Long Tongs (NO COOKING WITH THIS AFTER YOU USE IT FOR DYING)
- Step Laddar
- Plastic Storage Tub
- Color Catchers
Dyeing Ombre
Pre-wash you fabric
I do this to remove any finishes that might be on your fabric so that your fabric will soak in the dye.
DO NOT use fabric softener when you pre-wash your fabric as it will interfere with how your fabric takes the dye.
Read Your Instructions!
It’s important to read your bottle of dye as the instructions could be different. Just in case, read the bottle so you can make sure you don’t miss any steps.

Collect Your Materials
Have all your materials ready for when you need them.
Prep Your Dye Bath
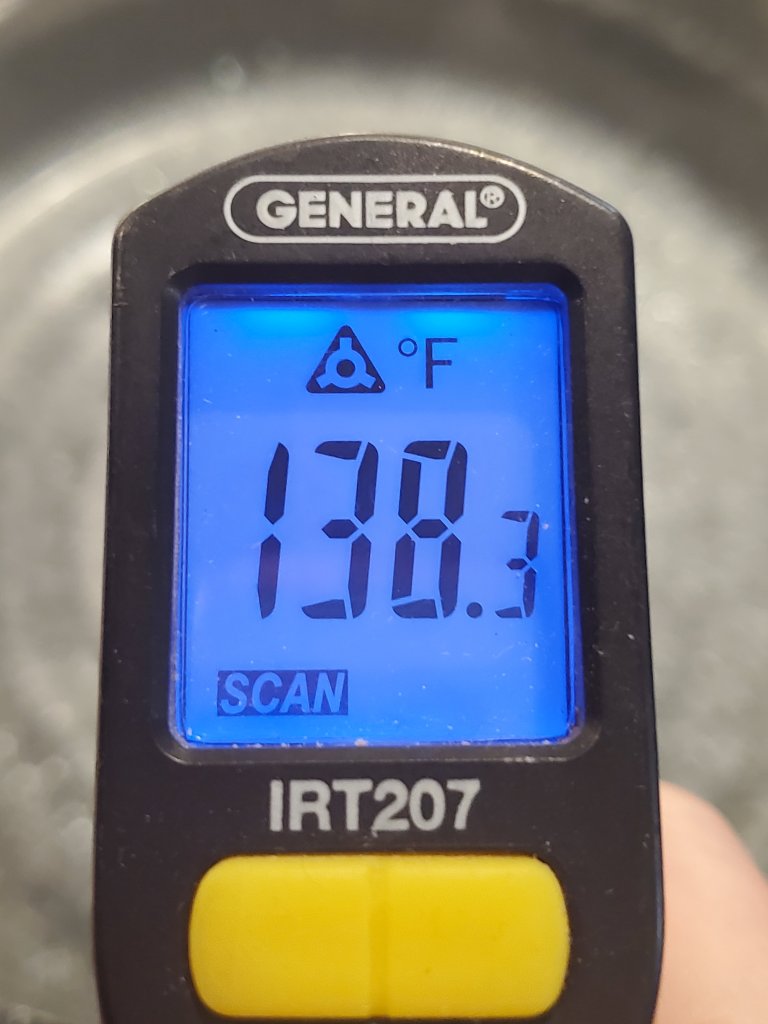
Measure out your hot water (140° or over), add your teaspoon of liquid dish detergent, and add a cup of salt if you are dyeing cotton fabric.
*Other fabrics like Nylon would not get salt but something else. So refer to your instructions if you aren’t dyeing cotton.
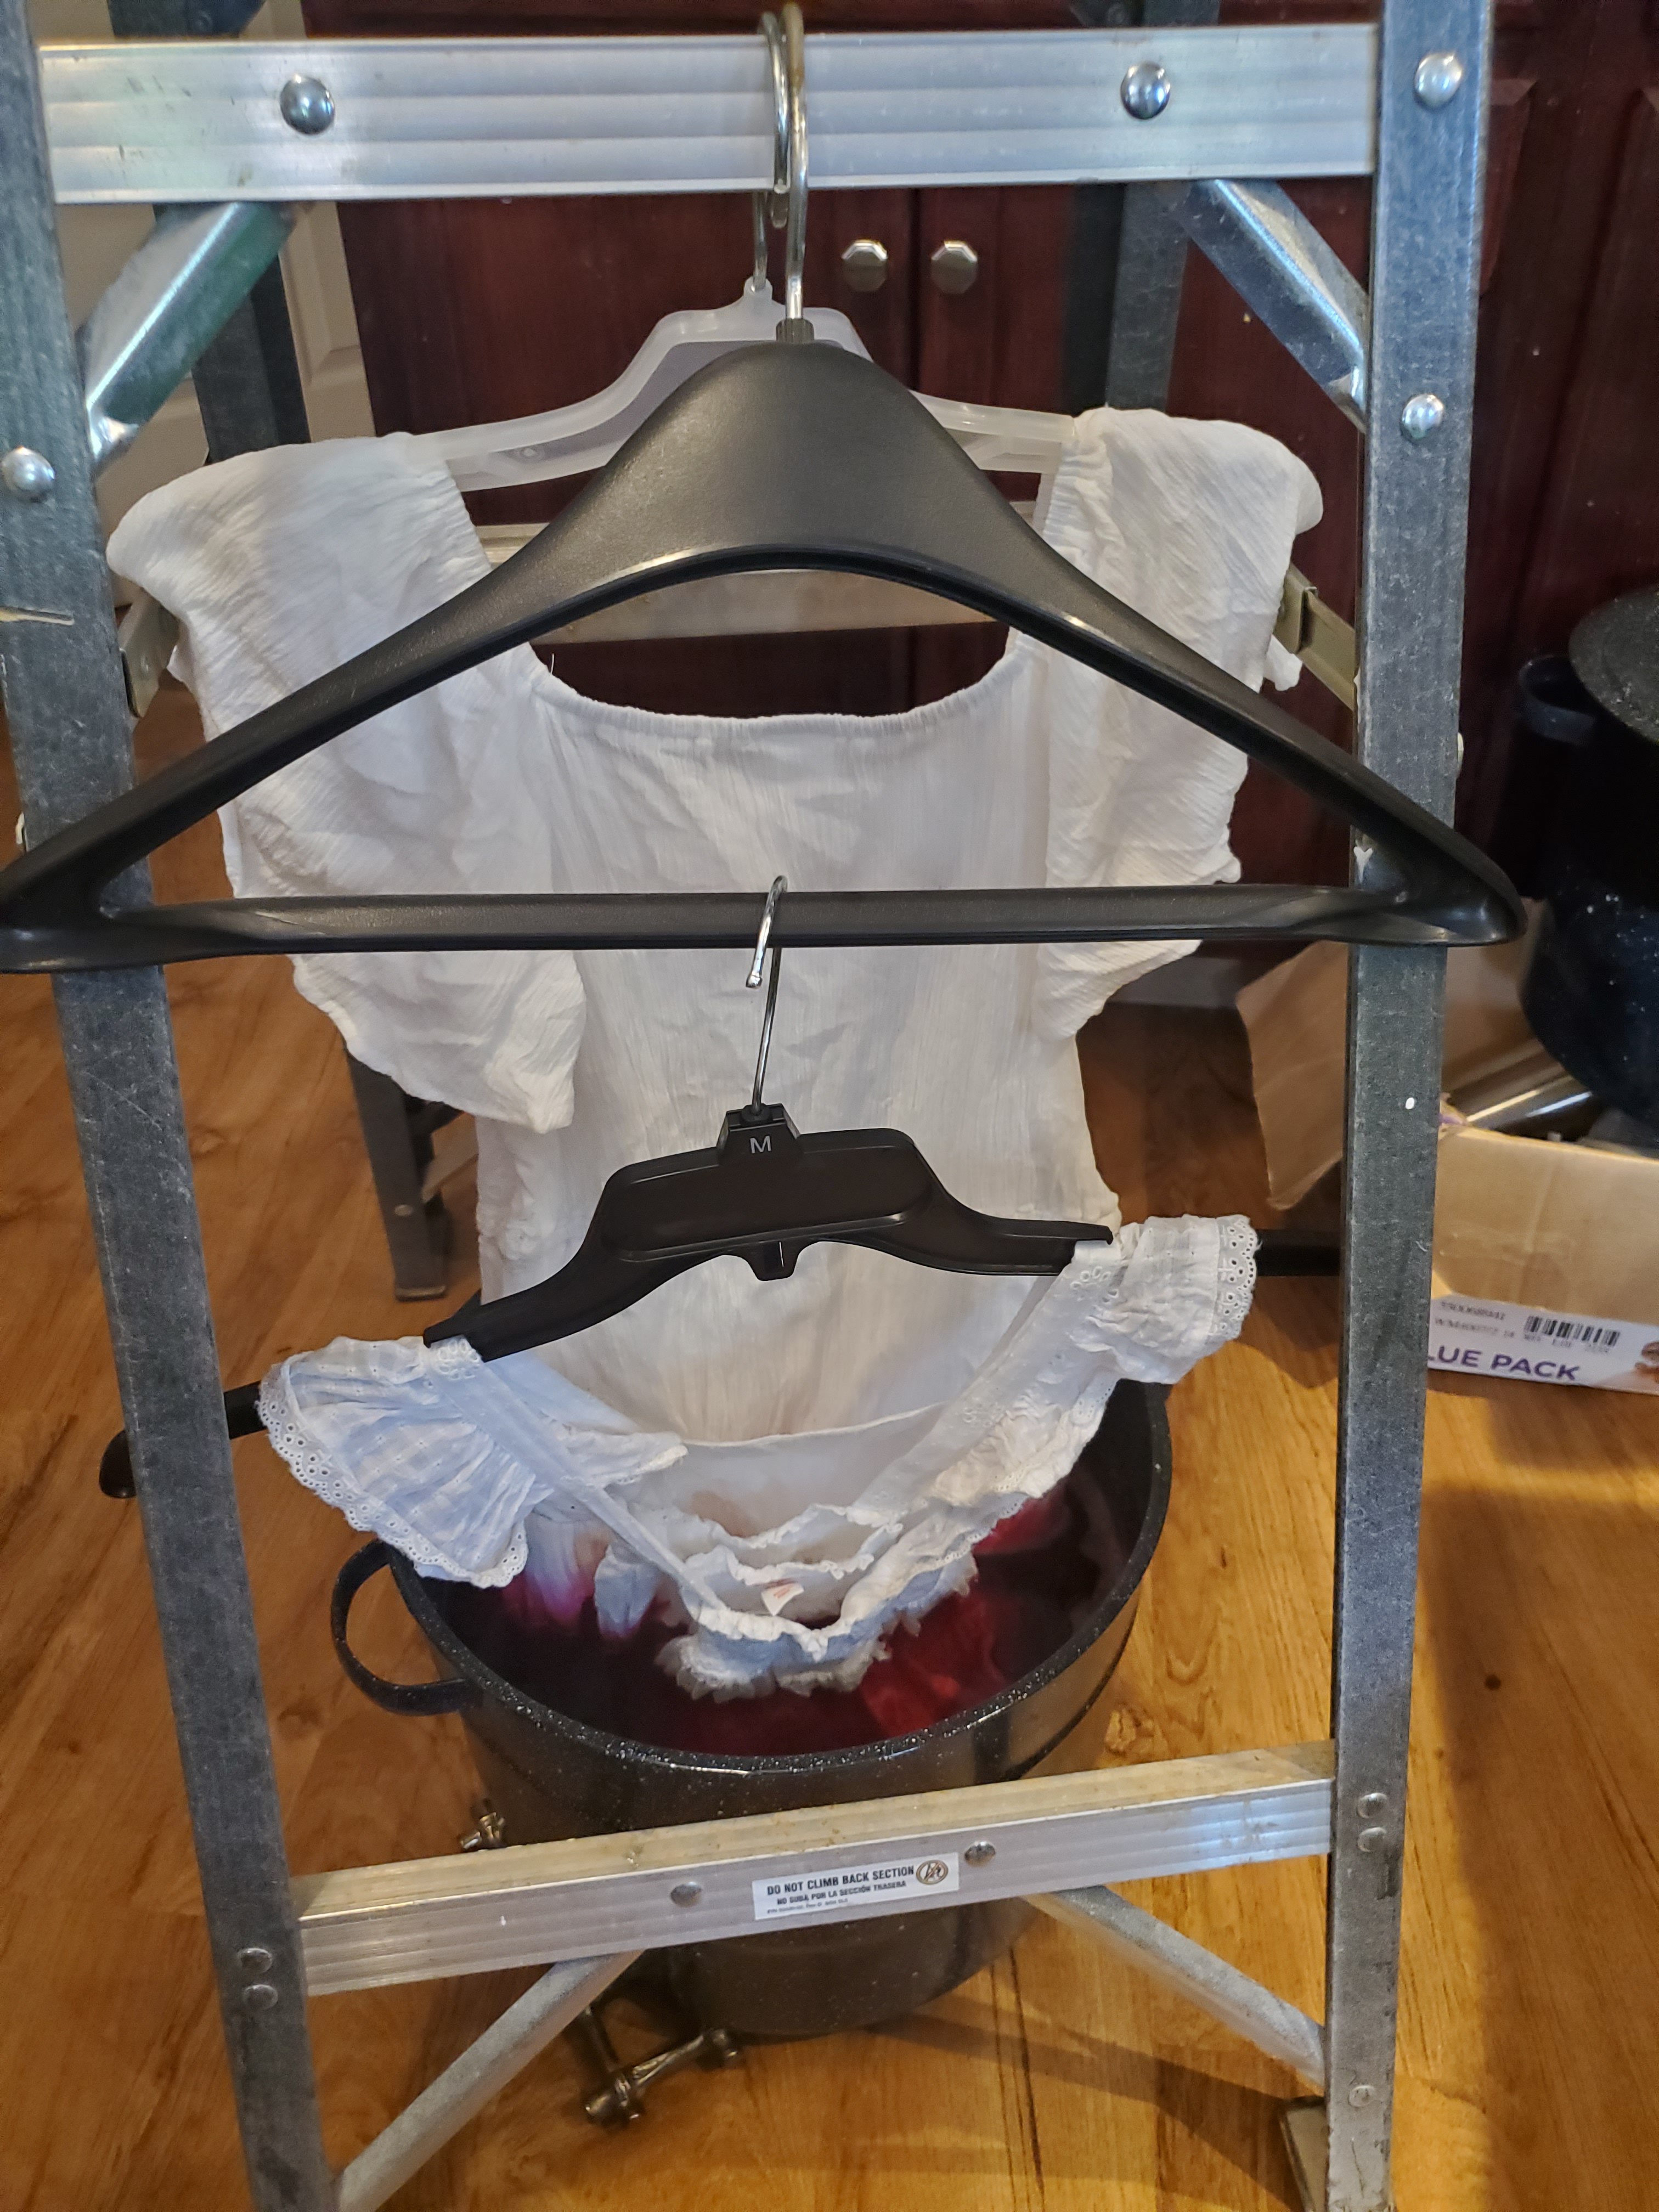
Set Up Your Ladder Over Your Dye Bath
Hang Your Damp Dresses (Fabric) On the Hanger
Plan How Big You Want Each Color Stage
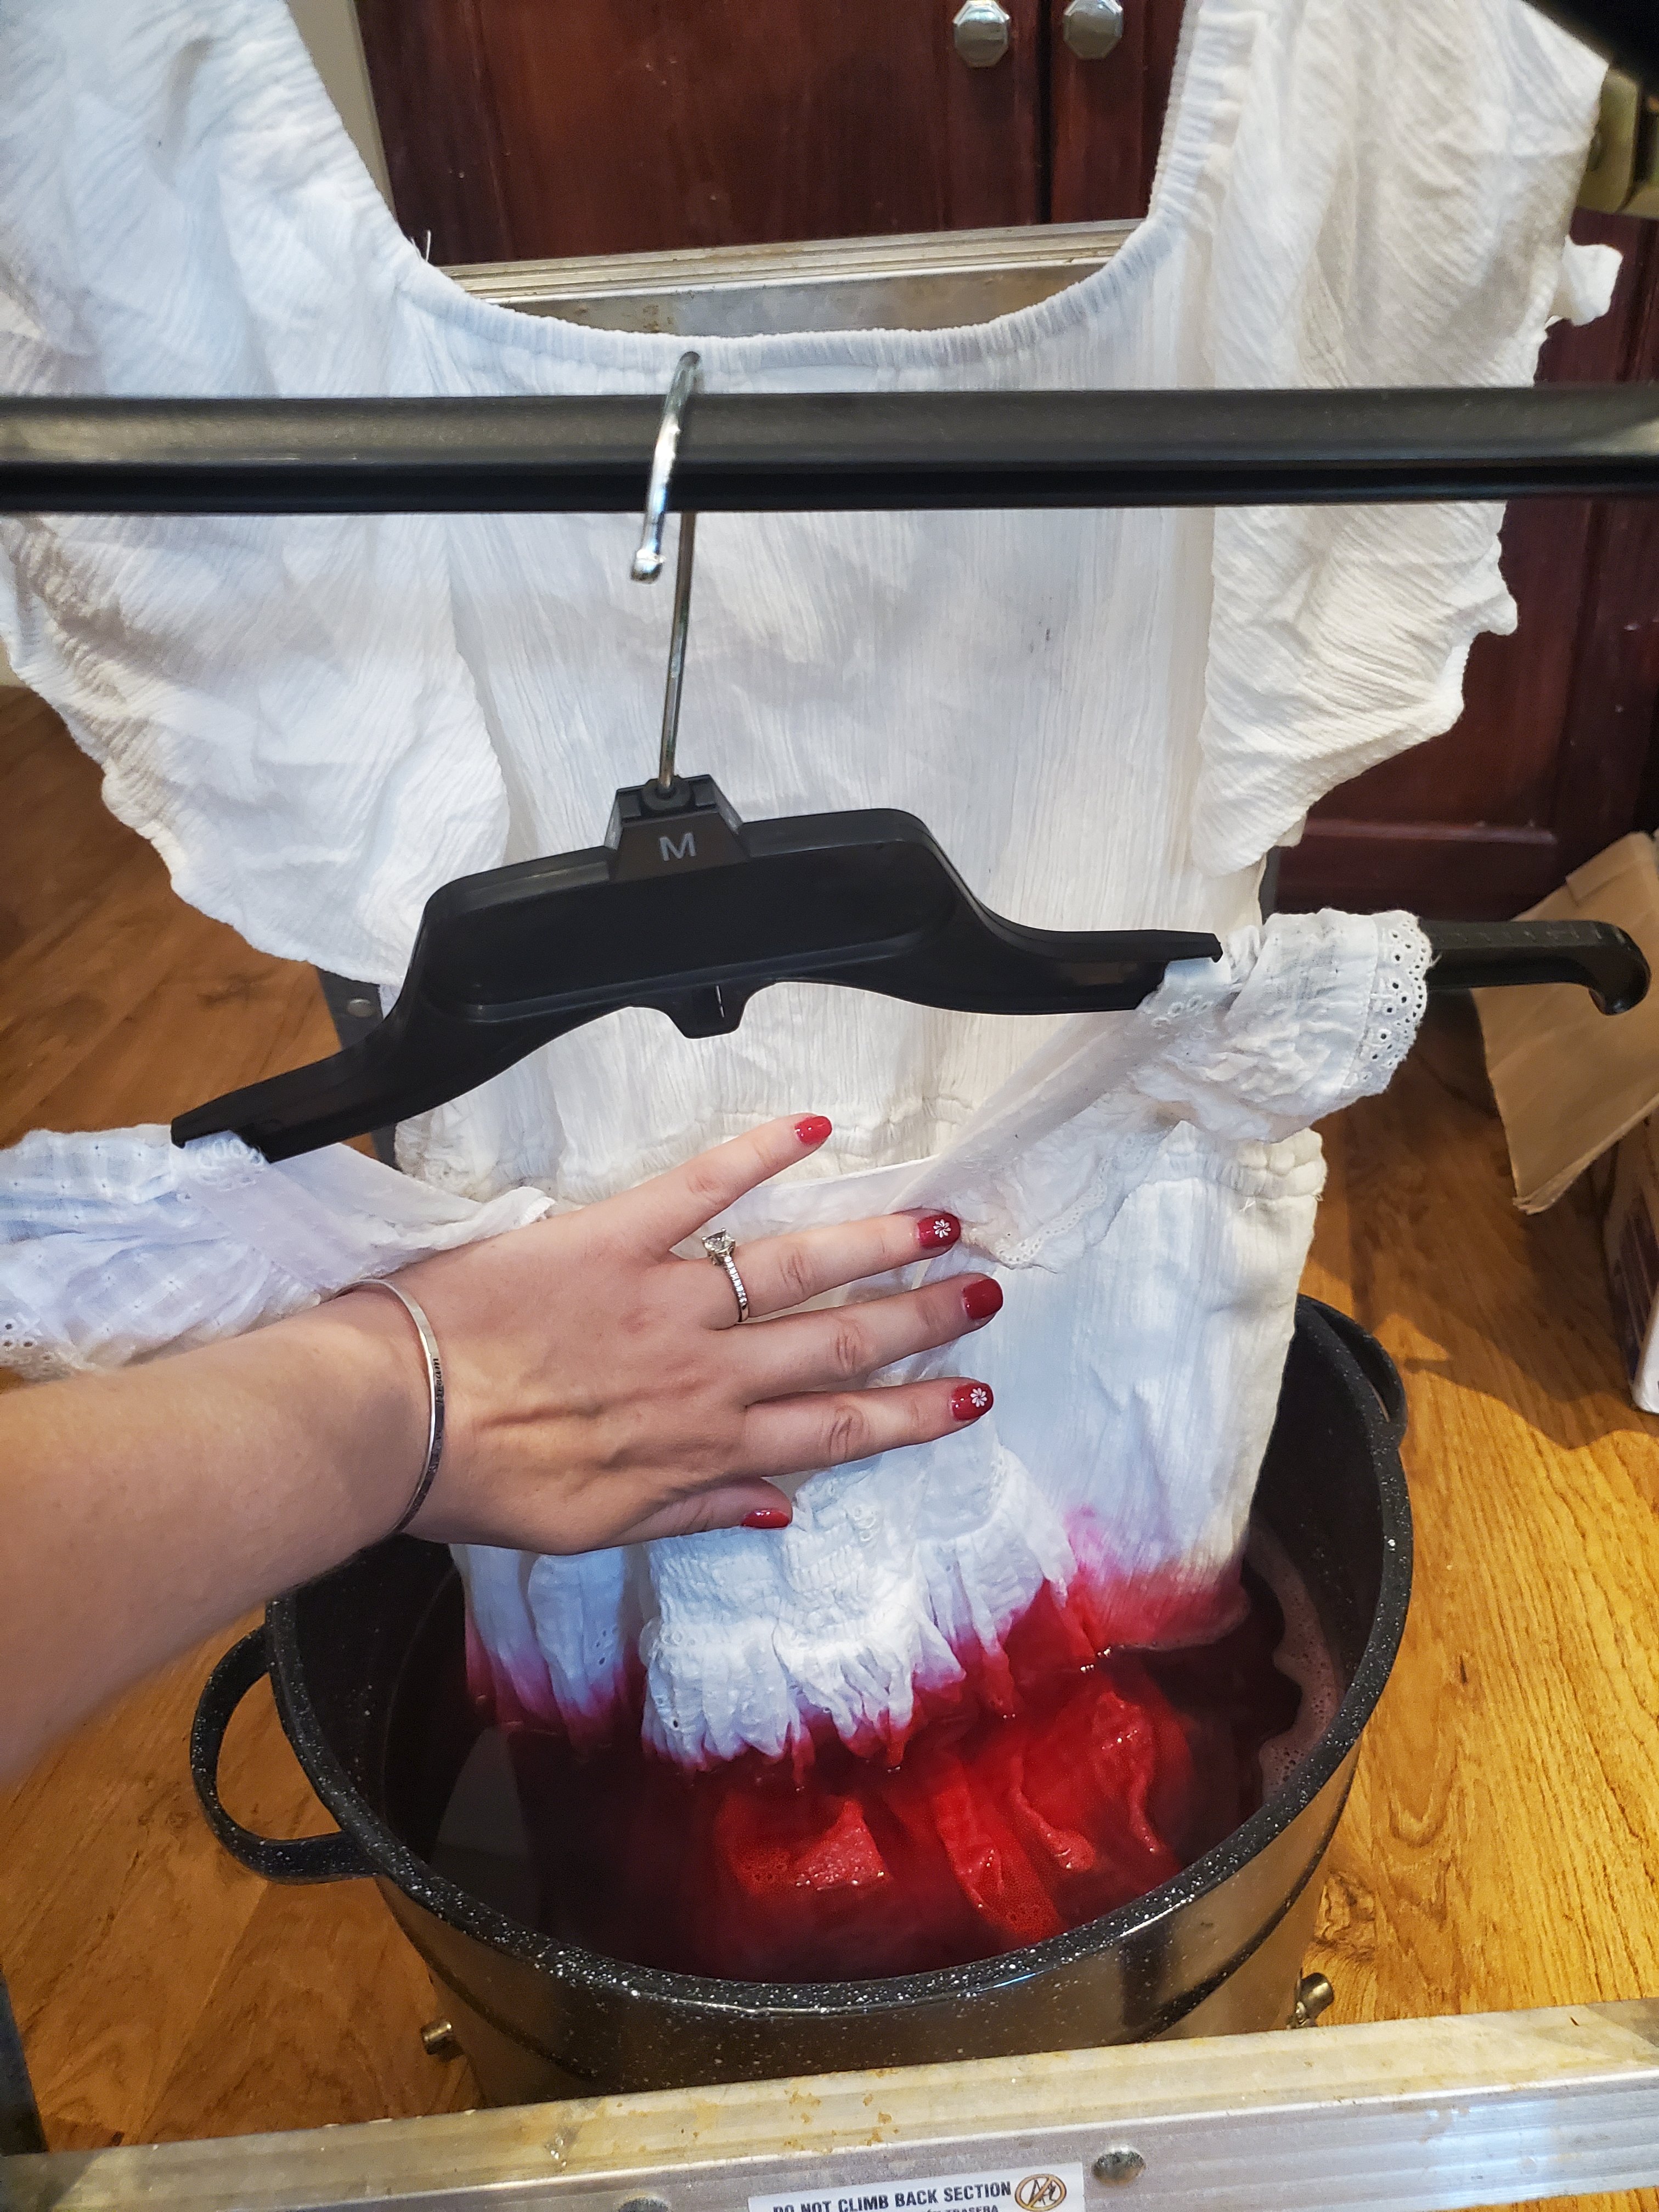
Dip Dress Down to Where Your 1st Section Ends & Hang On Laddar

Set a Timer
I knew I wanted a pink to magenta color so I only used 30 seconds for each of the 1st 2 sections.

Gently Sway Fabric to Encourage Coverage
When Timer Goes Off Lower Fabric to Next Ombre Section
Set a Timer (30 seconds)
When Timer Goes Off…
Take Fabric Off Hanger
Submerge the Rest of the Fabric
*Unless you wanted a portion of your project to stay white. Just don’t submerge the part you wish to stay white in the dye bath or when doing the ColorStay dye fixative process.
I went back and forth about whether or not I should submerge the last section at all. I knew it would get some color while I was rinsing because I was just throwing it into my washing machine on the rinse cycle.
In the end, I decided I wanted to submerge it for a moment because I wanted the color steps between the ombre sections to be relatively even. I really enjoyed how the dresses turned out, but I figured I’d share the method and thought process so if you want something slightly different you can adjust accordingly.
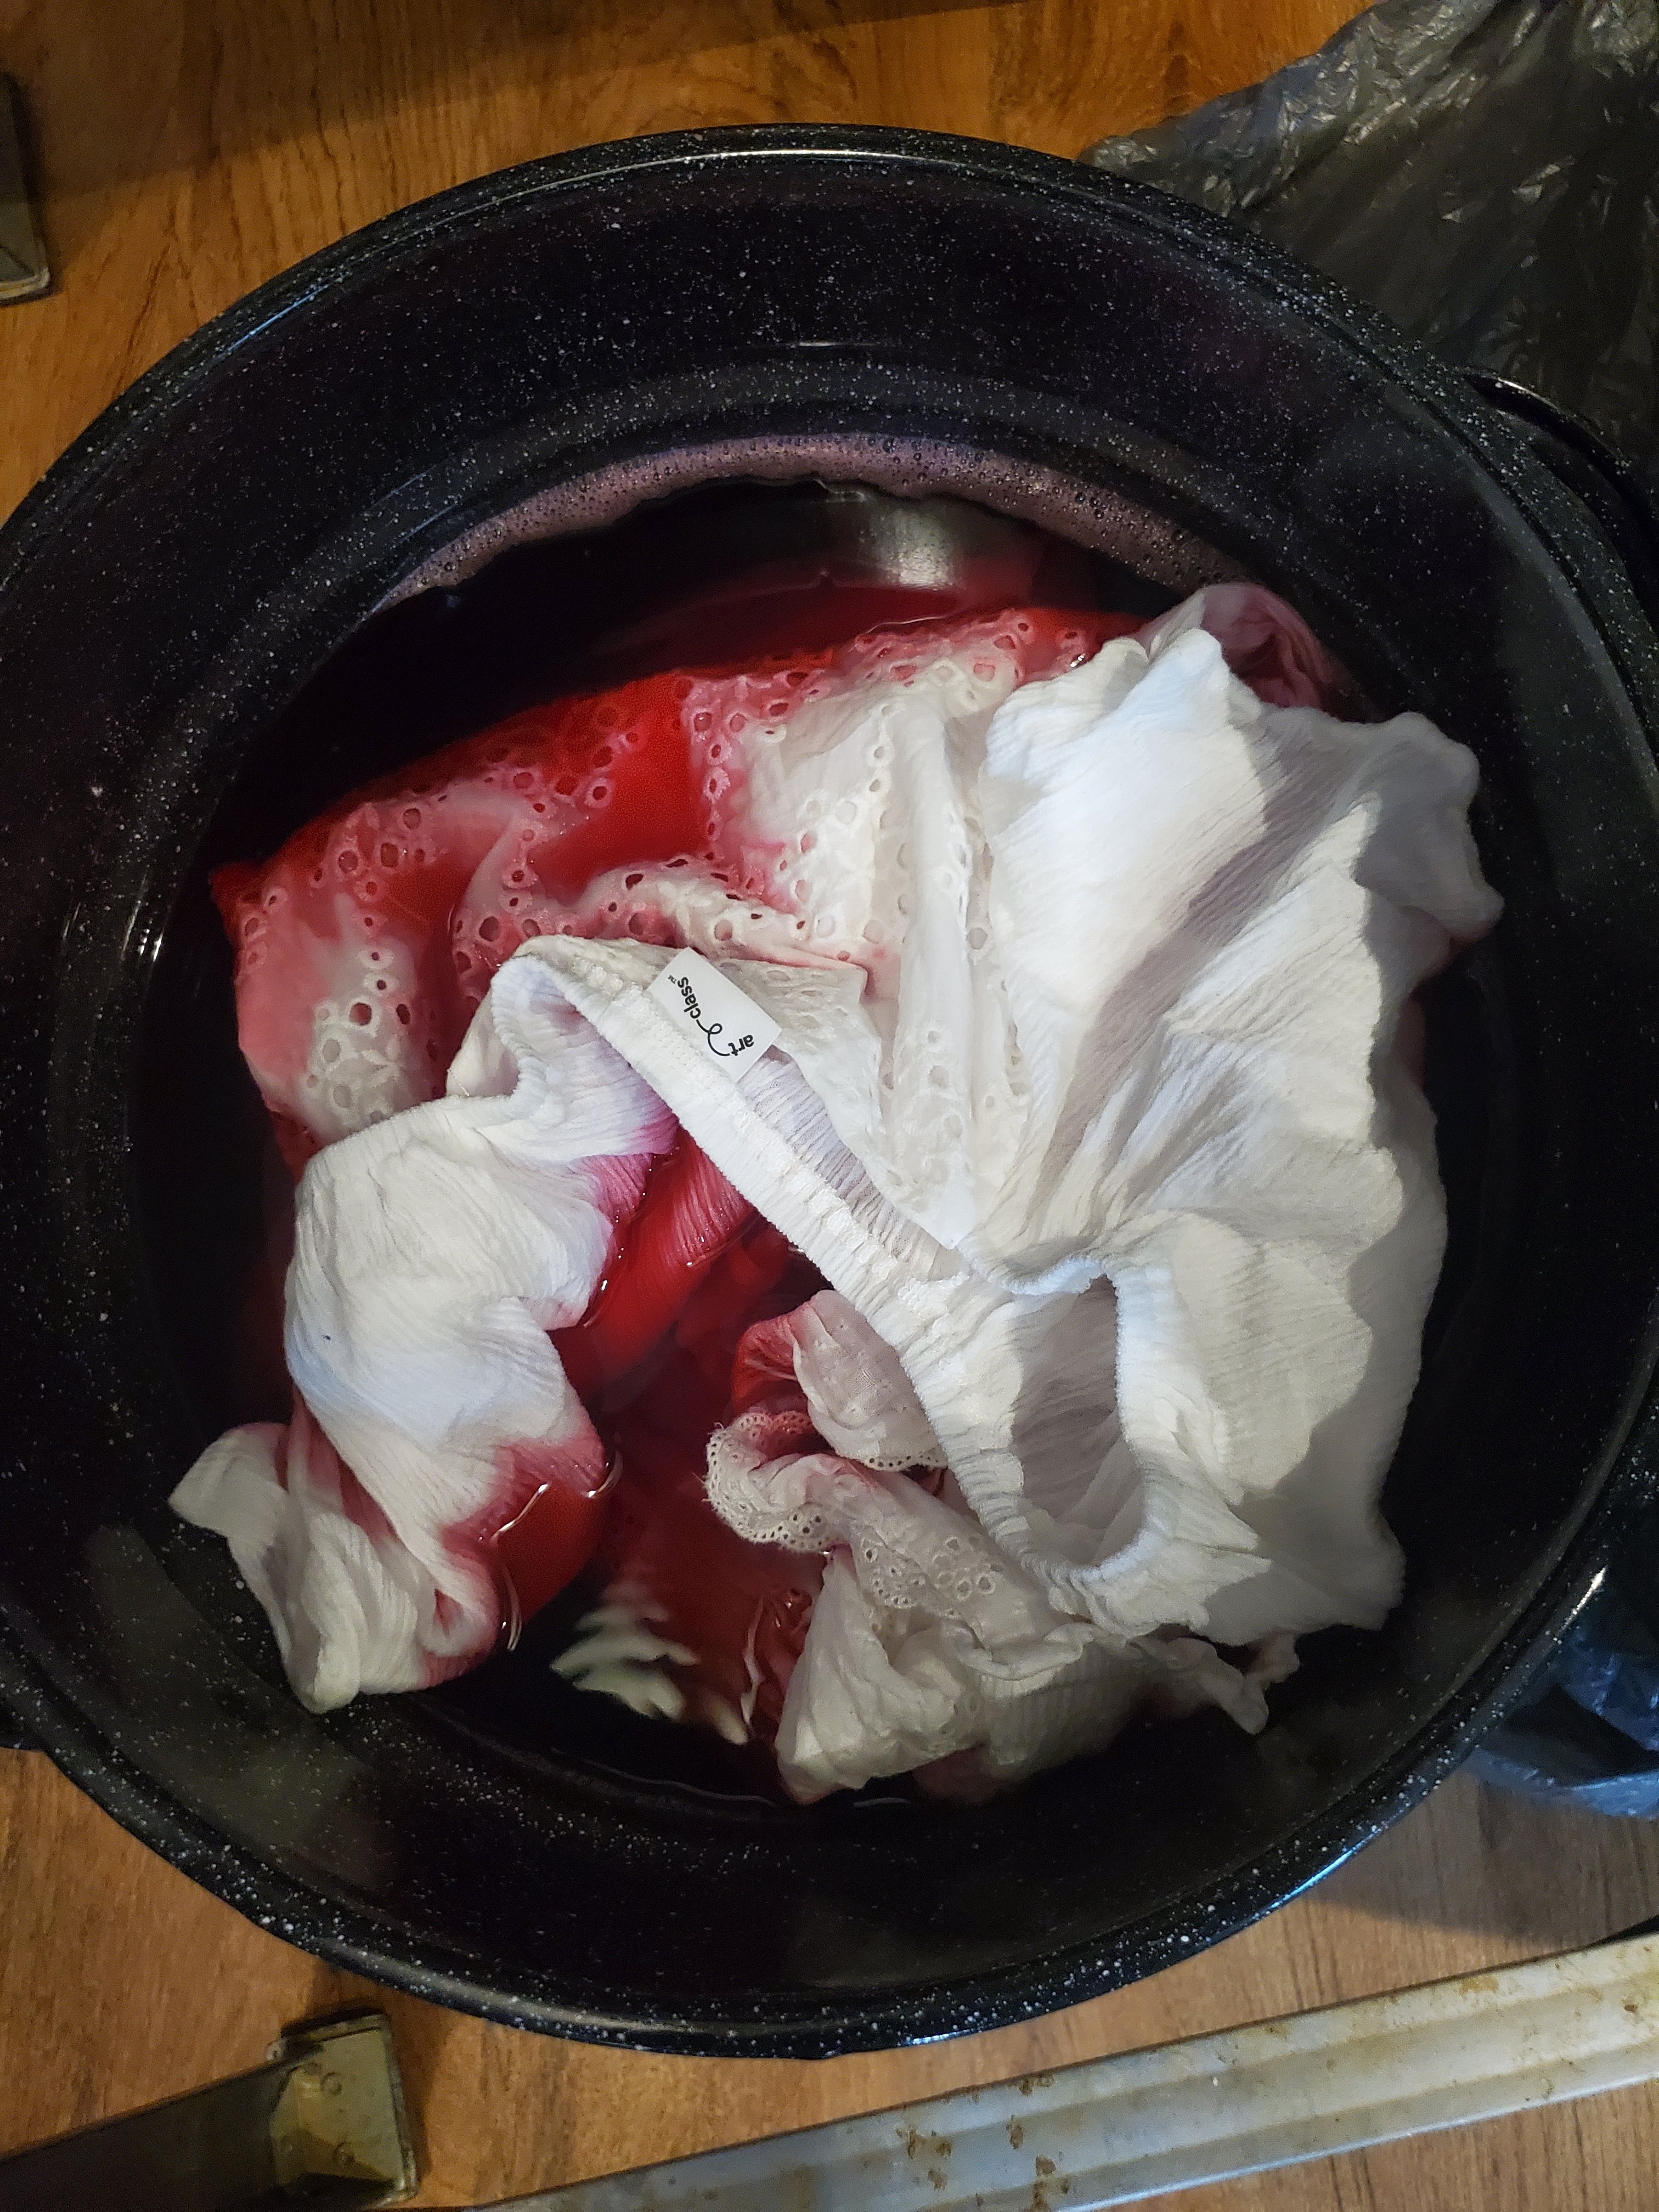
So I submerged and swished the fabric at the top of my dress for about 4 seconds, which was just enough to make sure it was evenly covered.

Remove Dress
Gently Squeeze Out Excess Dye
Place in Tranfer Tub or Leak Proof Bag
Putting the dress in the plastic tub is an extra step but then you can transfer your dress without carrying a giant vat of water to your washing machine, OR dripping water as you carry it from the pot.
I guess a plastic bag might work here too but I find tubs easy to use and easy to clean.
Place Dress in the Washer & Run it Through 2 – 3 Rinse Cycles
Wash Out Dye Pot
I used paper towels for this process because I didn’t want to accidentally dye anything. If you have cleaning towels that you don’t mind dying they would work well too. Just be careful what you wash them with later on.
Using Your Nice Clean Dye Pot
Heat Water to 200° for Color Fixative
I dislike waiting for water to boil, especially in a pot this size! Are we at 200 yet?!
Once Water Reaches 200 Degrees
Shake Bottle of Fixative
Pour Fixative Into Hot Water & Mix Well
Preferably you would have a dye-dedicated stainless steel stirring instrument, but if you don’t you can take your chances on using a hanger as a stirring implement like I did.
Add Fabric to Pot
*If you wanted to keep some of your project white and you didn’t dye the whole dress only submerge the parts you did dye.
Stir Gently for 20 Minutes
Transfer Fabric to Tub & Into Washing Machine
I messily lined the bottom of my tub with some grocery bags to make cleaning up a little easier on myself. It was late already, and I still had packing to do. I was looking for any opportunity to save myself time!

Run Dresses Through Rinse Cycles Until Water Runs Clear
Wash Fabric Or Your Dress As You Would Normally
My dresses were cotton, so I washed them on a cold a delicate cycle with regular laundry detergent. It was a small load, and I didn’t add other clothes because the unbonded dye can still leech from your fabric during the 1st couple of washes.
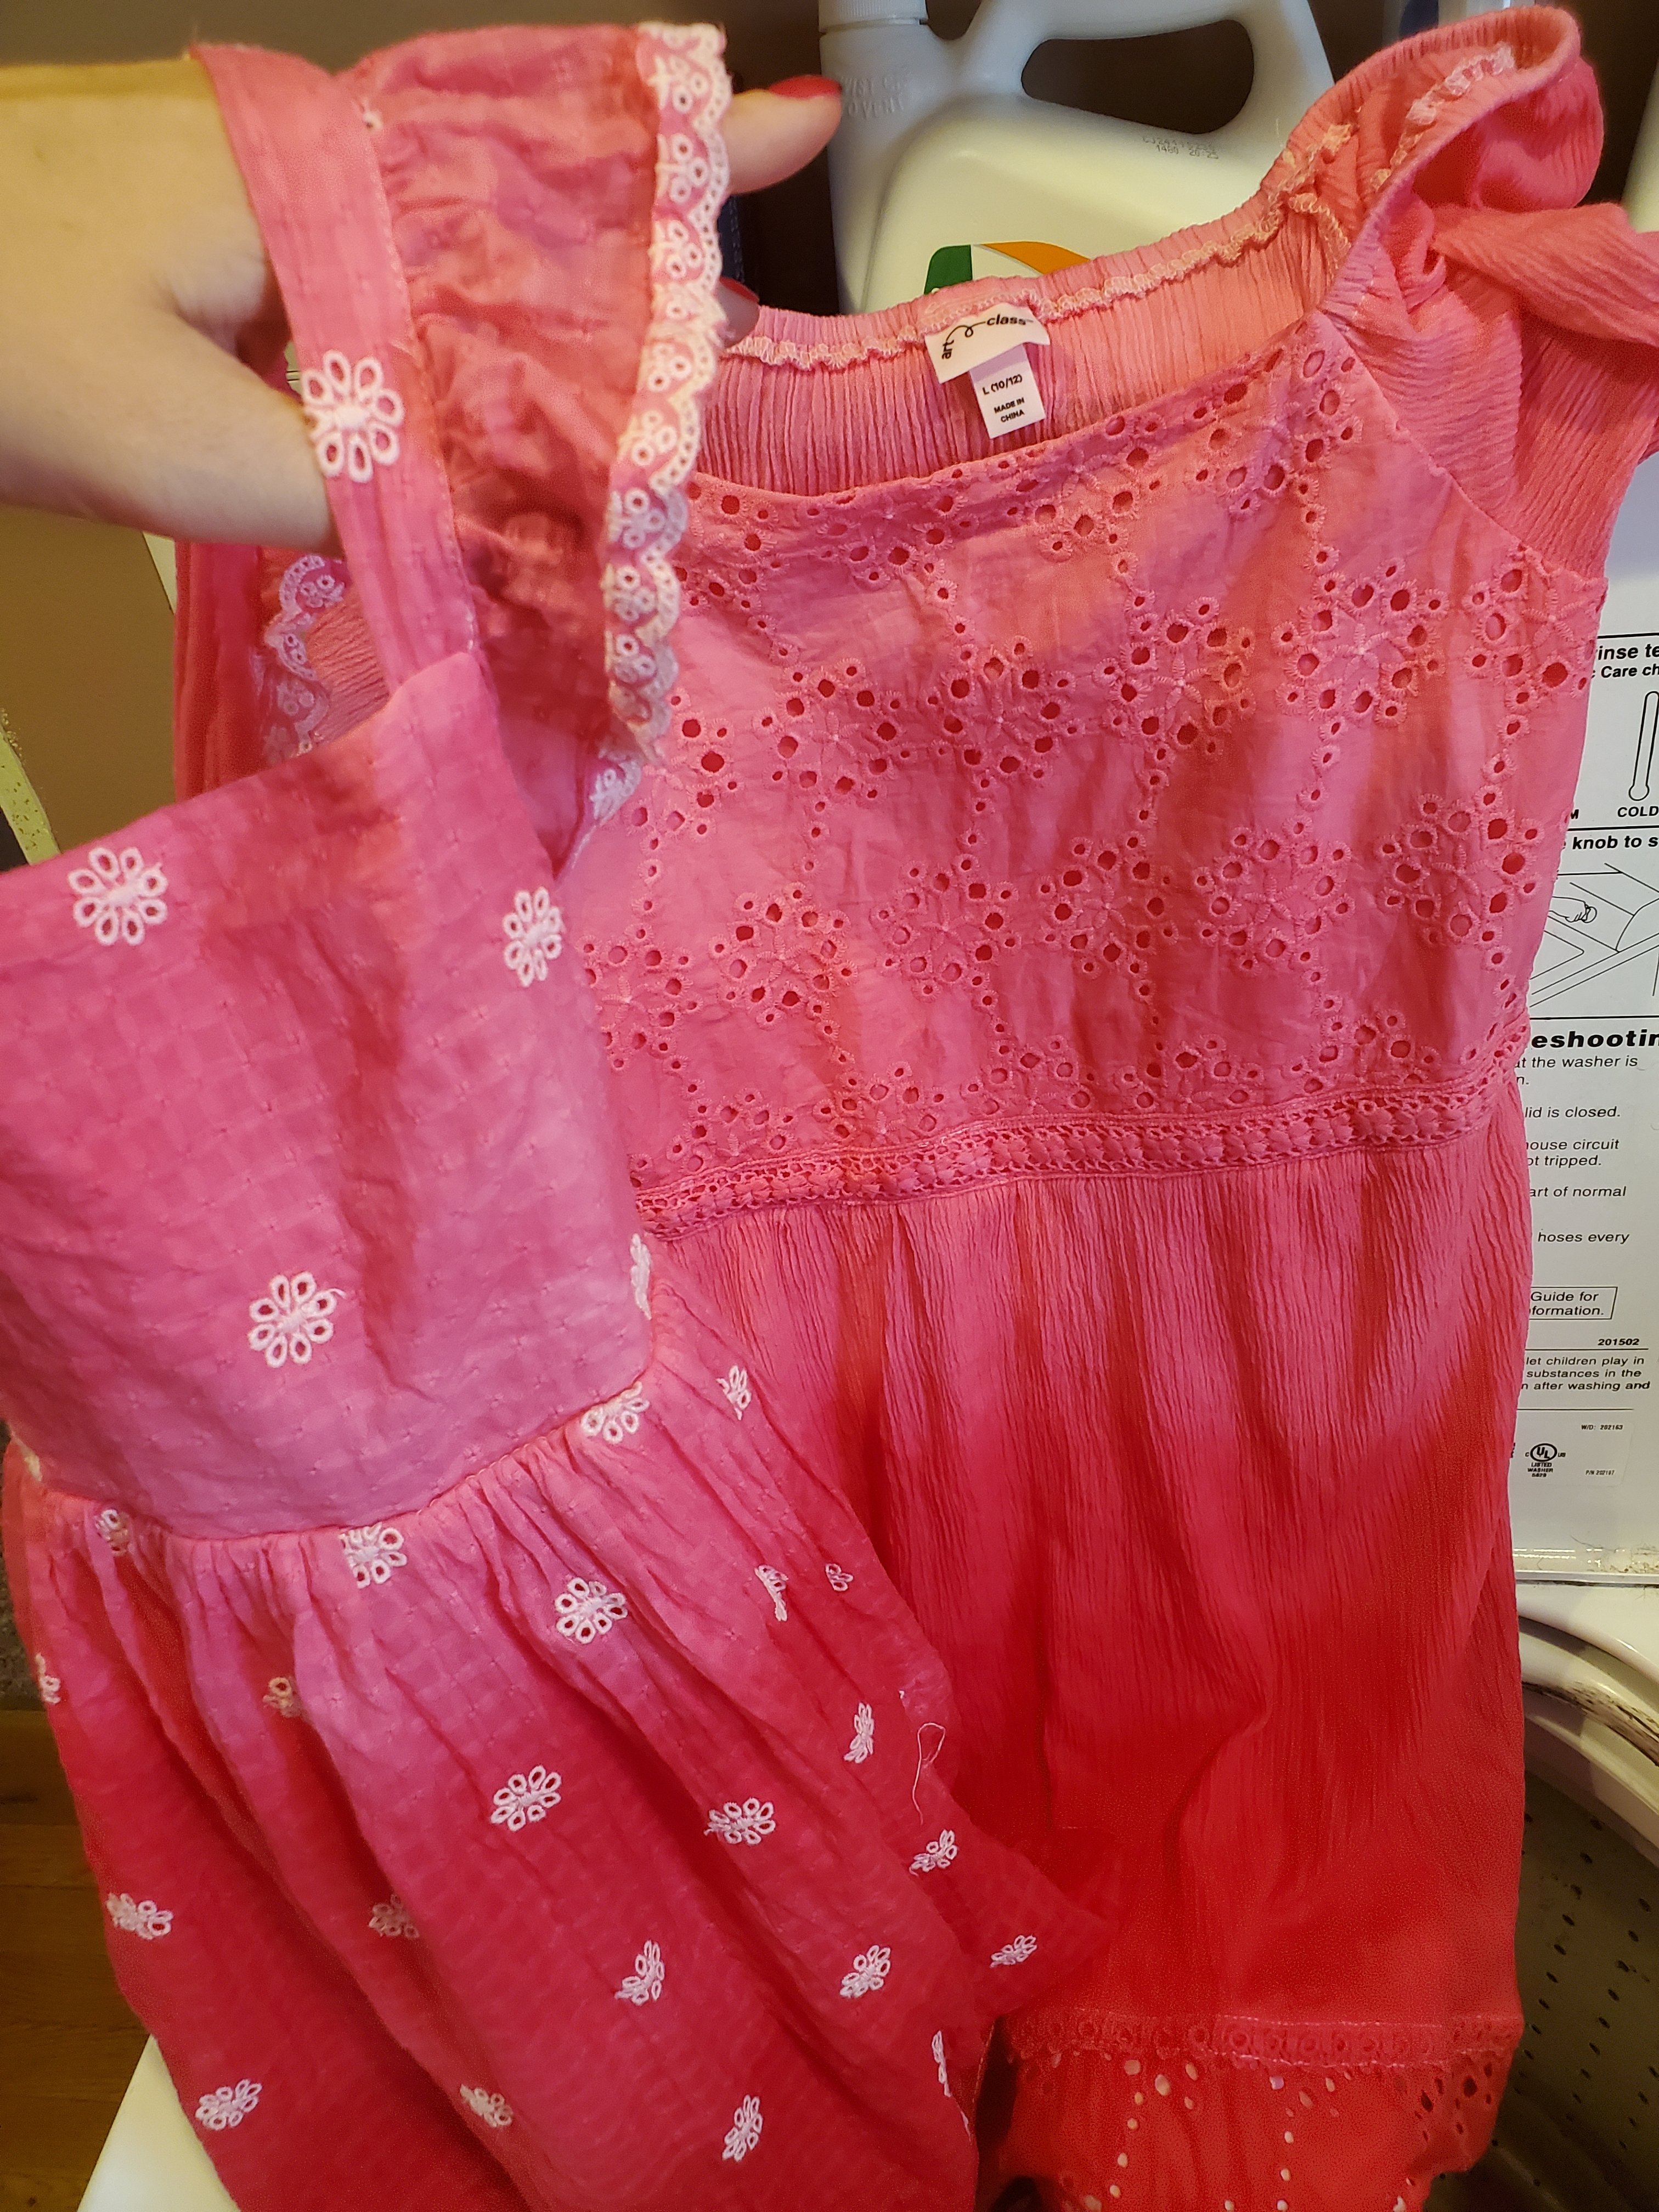
These were my freshly rinsed dresses straight from the washing machine. As you can see different materials will absorb dye differently. The embroidered flowers on my youngest’s dress must have been a synthetic thread. I didn’t mind though I thought it was an unexpected feature that turned out to be a very pretty detail.
Hang to Dry or Dry Normally
After the rinse cycle, I hung the dresses to dry for that 1st time because I didn’t want them to do anything unexpected, like shrink! Honestly, heat does help set dye so if you don’t have concerns throwing your items in the dryer can actually help.
Clean Up
While I admit cleaning up isn’t my favorite part of the process, being able to admire a job well done makes it all worth it!

After Care
The 1st time I washed these dresses with other clothes I used Color Catchers to absorb any extra color that might bleed out. Then I dried them in the dryer like normal. I haven’t used the color catchers since that 1st wash, but we wash most of our clothes on cold so no color has transferred to other items. The pink color has faded slightly over time but the dresses still look as beautiful as ever.

Wrap It Up
If you want this to be a calm process, you probably don’t want to wait until the night before you leave for vacation, to try out a dye technique for the 1st time, on dresses that will be photographed into family history. I’m happy they turned out as I wanted, but if they hadn’t I would have been panic shopping on vacation. That wouldn’t have been ideal for obvious reasons!
Fortunately, I loved how they turned out. Since these were comfortable sundresses they saw so much more use than super fancy dresses. They also were so much cheaper with a price tag of between $20 – $30.
Another great result was that they were able to wear these for longer than a dressy dress may have fit. My kids grow so fast, but since these were relaxed-fit dresses they fit the kids throughout the season. I believe my toddler will still be able to wear her’s next year, but we will see about my oldest as I think she might be about a foot taller by the time it gets warm again!
I enjoy seeing the girls wear their dresses, and I know it brings back wonderful memories for them too. I would definitely recommend dyeing sundresses dresses for big events. They are so comfy, and will remind you of good times whenever you wear your beautiful clothes again.
Whether your projects turn out as intended, or surprise you with quirky results, I hope you find joy in your creative pursuits. Let me know if you have questions, and I will do my very best to help.
Thanks for visiting CraftingGlow blog, I hope you found some helpful info today.
PS. Today I learned that dyeing is not spelled dying. As I corrected my post (everywhere I could) I laughed like a nerd about dying dresses🤦♀️😆


