
“And My 1st Time Making Bias Tape”

First off this wasn’t my idea, it was a facebook post sent to me from Billy’s sister “my sister” lol. She sent me a message, with a facebook link, wanting us to make a similar craft as a Christmas gift for Uma! She said she got a tablecloth from a thrift sale and she wanted to convert it to a tree skirt.
Click here to see the original post from “Mom Life – Keeping It Real”.
I know some in the sewing community cringe when others ask them to sew something but in this season I don’t get around to sewing much for myself.
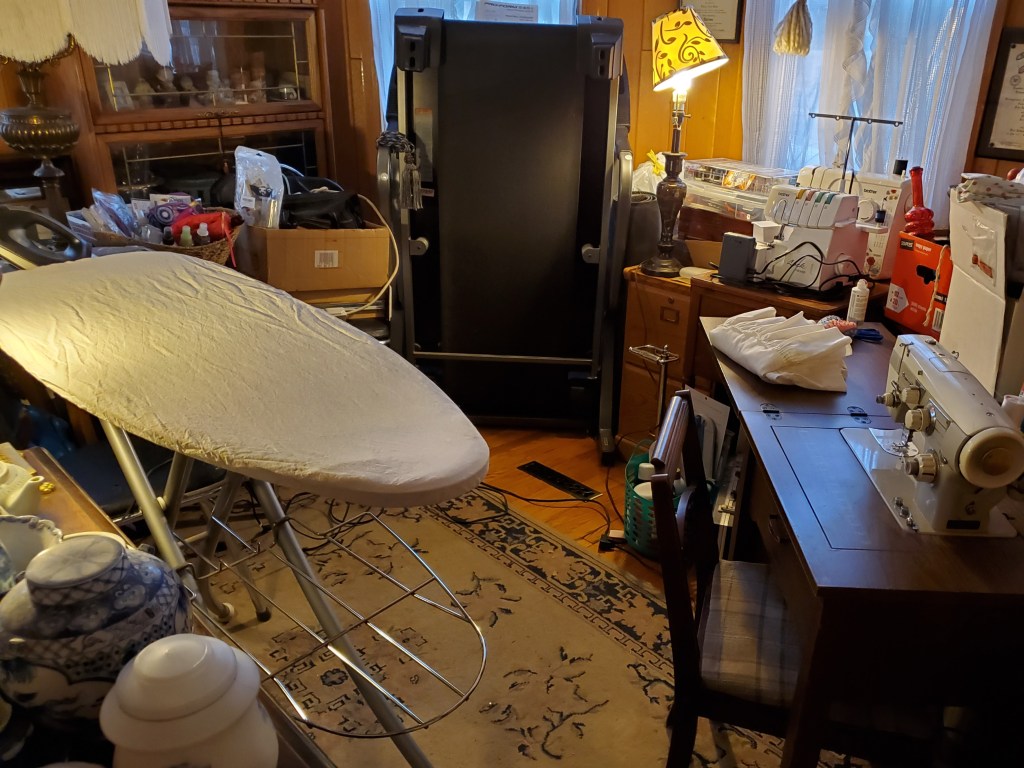
If there is any excuse to sew and do a project everyone gets excited about, I am there for it. This is my sloppy sewing and craft room.
It has since gotten cleaner and disastrous several times over since these photos. I was just so excited to get a functional, albeit cramped, space to do some sewing!
I have never had a dedicated space for sewing or crafting so you can imagine why I was super pumped about this. I can’t wait until we aren’t storing other rooms’ items in here, like the Blue Willow China, and I get even more space to spread out. I have to celebrate the small wins though and appreciate our progress.
So this was my very first time attempting to make bias tape so I needed the iron set-up and ready. I have my iron out and a clean ironing board cover for the first time since I worked at Red Lobster. OMG that was like 15 years ago!
Anyway I don’t iron much, or ever, if it doesn’t involve a wedding or sewing. You should have seen how much dust was on the ironing board cover before I washed it, eeek!
Side note: I thought something was wrong with my iron because it drips water from time to time and I couldn’t figure out why. I figured it out!
If the iron turns off from the safety feature and you are trying to really quickly steam iron something before all of the residual heat goes away, IT WILL NOT WORK! I doesn’t give you any steam and when you turn your iron back on all the water that would have turned to steam, had your iron been on, will drip all over your project and the floor. Anyone else have this happen? Might just be me lol.

So for the bias tape I used a “new looking” white sheet cut into 2″ strips, using my rotary cutter and cutting mat.


It’s called bias tape because you cut the fabric on the bias. This is just cutting the fabric on a 45 degree diagonal compared to the up and down, and left and right woven pattern.
If you have a regular piece of fabric you just look at the edge and find your 45 degree angle from there. I folded down the corner of my fabric to find my first cut and used that as my guideline.
I used our fold-out card table from the 70’s to cut on. It has a sturdy top that is far from perfect. If I slip off of my cutting mat it doesn’t seem to harm the surface of the table. It probably isn’t great for the rotary cutter and doesn’t cut the fabric as cleanly but I can’t expect perfection.
I want full sized cutting mats someday but for now I will settle for sliding my smaller cutting mat under my fabric. The yard stick is nice to help keep your cuts nice and straight.

So I would have loved to film a tutorial on how I made the bias tape but at this point I didn’t have a tall tripod for my phone and my lighting was terrible.
I fixed 2 birds with one stone when I purchased a ring light with an 8 ft tripod. I haven’t gotten to use it yet but I am so excited to see how it improves the quality of my work!
Bias Tape How To:
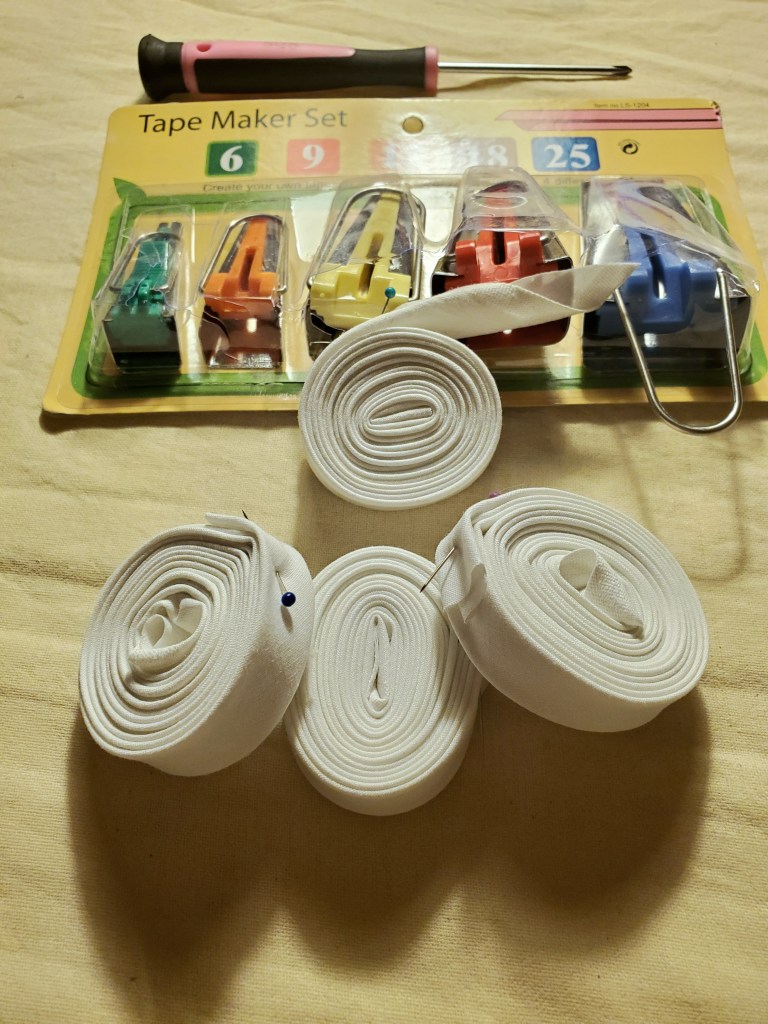
Take your 2″ strip and feed it into the bias tape maker size 25. Mine is the blue colored one and I purchased this set on Amazon.

I used a tiny screwdriver to feed the fabric into the metal contraption. Then I pinned the end of the fabric to the ironing board, pulled the metal loop, and ironed the fabric between the pin and the bias tape maker.
Tip: Keeping tension on your bias tape maker helps hold the fabric in shape until you get to run the iron over it.
I also stood leaning over my ironing board so I could pull the metal loop with my left hand and iron with my right. I am right handed so maybe making bias tape is easier for left-handers. You will have to let me know.

After I got the single bias tape made I would immediately fold it in half, repin, and iron it to keep it nice and tidy. I then rolled it into little rolls to help it keep it’s shape and make it easy to apply to my project.
I was really excited about learning this technique because someday this will help me finish a neckline or hem on a “me made” shirt. I can just imagine the possibilities. I was pretty impressed with myself. It’s not rocket science but it was my first time and I was celebrating my success. So after I finished my nice little rolls of double fold bias tape, I cut my table cloth.
I would love to tell you I used a very scientific method of cutting a hole in the middle of the table cloth. To be honest I folded it and tried to cut the circle in the middle by making a roundish cut.
When I unfolded it, it looked like a clover, oh no! Well good thing I started with a small cut. I left it unfolded and “rounded off” my clover shape before pinning my bias tape on my fabric.

So when you pin on your bias tape it sandwiches your raw edge and keeps it protected. The challenge is to get enough of a bite out of your raw edge that when you stitch, it holds on to your fabric. I did not manage to do this the first time.

I sewed it and took the newly sewed tree skirt out to sister’s house to do the hand printing craft. Unfortunately the stitches “let go” in a few spots. We let the hand prints dry and I brought it back home to re-stitch in the areas where it wasn’t attached anymore.
I was so happy we had left a few days in between “painting” and when we were giving the gift! It didn’t take long to sew, and it wasn’t the prettiest sewing job ever but hopefully it holds up from here on out.

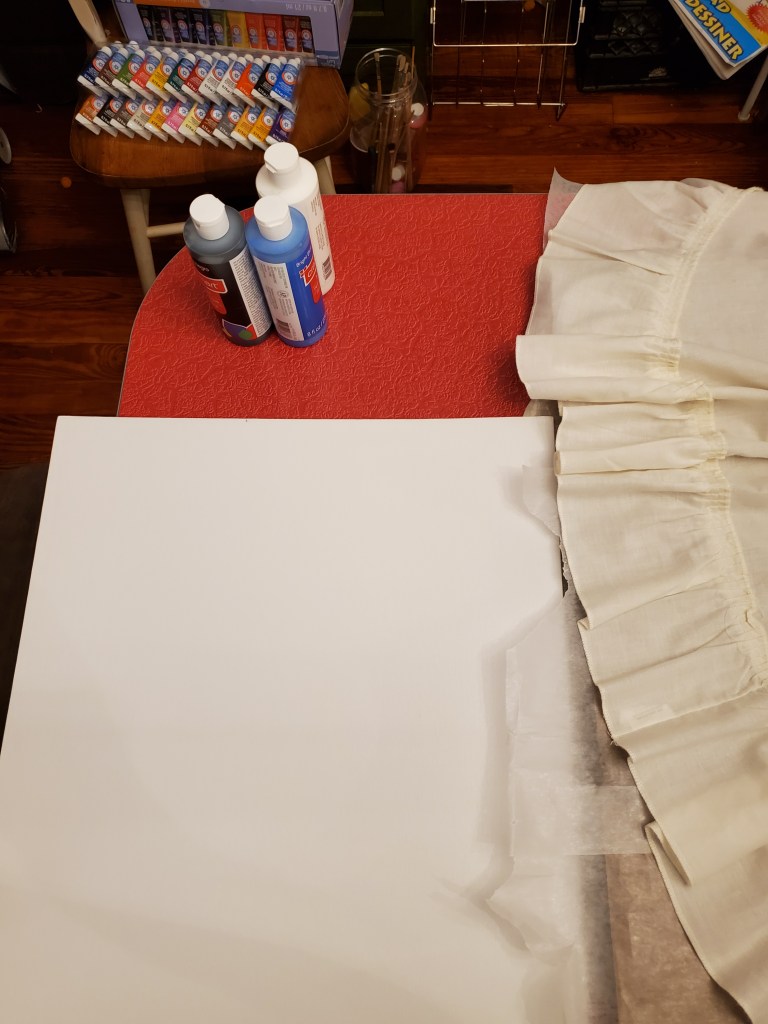
For painting we put down cardboard covered with wax paper to protect her red and white enameled kitchen table from the acrylic paint.
I bunched up the middle of the tree skirt (previously the table cloth) with a hair tie to give us as much room as possible to lay out the part of the tree skirt that we were applying our hand prints to.


We used Artist’s Loft acrylic paints that I already had, because it was Christmas and we were running out of time and money. We know that the acrylic paint will probably dry, crack, and flake at some point.
There is an additive that you can add to acrylic paint to make it into fabric paint but we just didn’t have time. We started out with the intention to order this product, because we can’t find it locally, but with the Christmas crazies going on we forgot.
Click here to view a post by Canary Street Crafts that has some insight into turning acrylic paint into fabric paint. I haven’t played around with this technique yet and I will certainly post my own thoughts on it once I have some experience.
We solved this problem by making a canvas with the kids prints as well. The tree skirt may not last forever but the kids prints on the canvas will. Plus they were able to sign their names which was a cool addition.
TIP:
- Acrylic paint drys fast so use a medium sized paint brush and move fast
- It helps to have some disposable plates to give children paint without handing over your paint tubes
- Have water cups at the ready to plunk paint covered brushes in
- Have enough brushes that you don’t have to clean your paint brush between every color
- Paint the hand quickly with full paint coverage
- Have an adult press down on children’s hand especially the base of the fingers and thumb
- Paint hand again for pressing on canvas and help child press hand down on canvas too
- Work with 1 or 2 kids at a time – we had 2 adults working on opposite sides
- Since we had kids do their hand prints back-to-back they only had to wash up once
- Have plenty of paper towels on hand
- Don’t be surprised if you have blue paint under a fingernail for a month after the project
So the acrylic paint may not last forever on the tree skirt but since it only makes it’s debut during the Christmas season I am hoping it will last quite a few years.
I figure it might be fun to re-make this craft in the future. We have the canvas with the kids’ prints that will last forever. If we re-make this project someday, it will be funny to see if our kids’ hand prints are bigger than ours. They sure grow fast!

Any who thank you for reading and I hope that something in this post might be helpful for some of your future projects. When Uma puts up her beautiful Christmas tree with the tree skirt next season, I will try and snap a picture to add to this post.
If you have any questions leave it in the comments or send me a message. I try to respond as quickly as possible.
What is your favorite hand print craft? Do you use sewing and bias tape for your crafts?

