
*Sewing involves pointy objects so sew at your own risk and make sure you discuss safety with your proteges (young ones).*
As a parent I really enjoyed this book because it offered a lot of inexpensive craft projects that could be given to friends, and it encourages generosity which can be hard for kids.

I recommend looking to see if your local library has it but if you love it as much as we did you may want to purchase your own copy. It’s an older book so it’s not as easy to get ahold of these days but I did find a few used copies of Gifts Kids Can Make available on Amazon.
It looks like most were printed in 1994 but I’m happy there are still some copies around. I loved being able to check it out from the library but as you will see in the video we had to return the book in the middle of her project, so she was working off of a picture we took of that particular page of the book.
I suggest getting a copy of Gifts Kids Can Make to keep at the house for the days your kids come to you the day before someone’s birthday and ask to make their friends something.
While it can be fun to look up projects online you can easily fall down a rabbit hole and inevitably your kids will come back to you with projects that require a list of specific materials that require you to shop at several stores. Another reason I enjoyed this book so much was that most of the projects use items that most of the people I know have around their house.
If you haven’t hoarded yourself a craft store you might need to purchase some items for this craft. The Dollar Tree has a lot of these items and you can order these items online to get them in bulk if you are looking to make up little crafting kits for the cute kiddos in your life, or if you know your kid will make craft presents for every kid at school!

(Click on Picture or List Item for Direct Links to Dollar Tree Products)


Supply List
- Cardboard
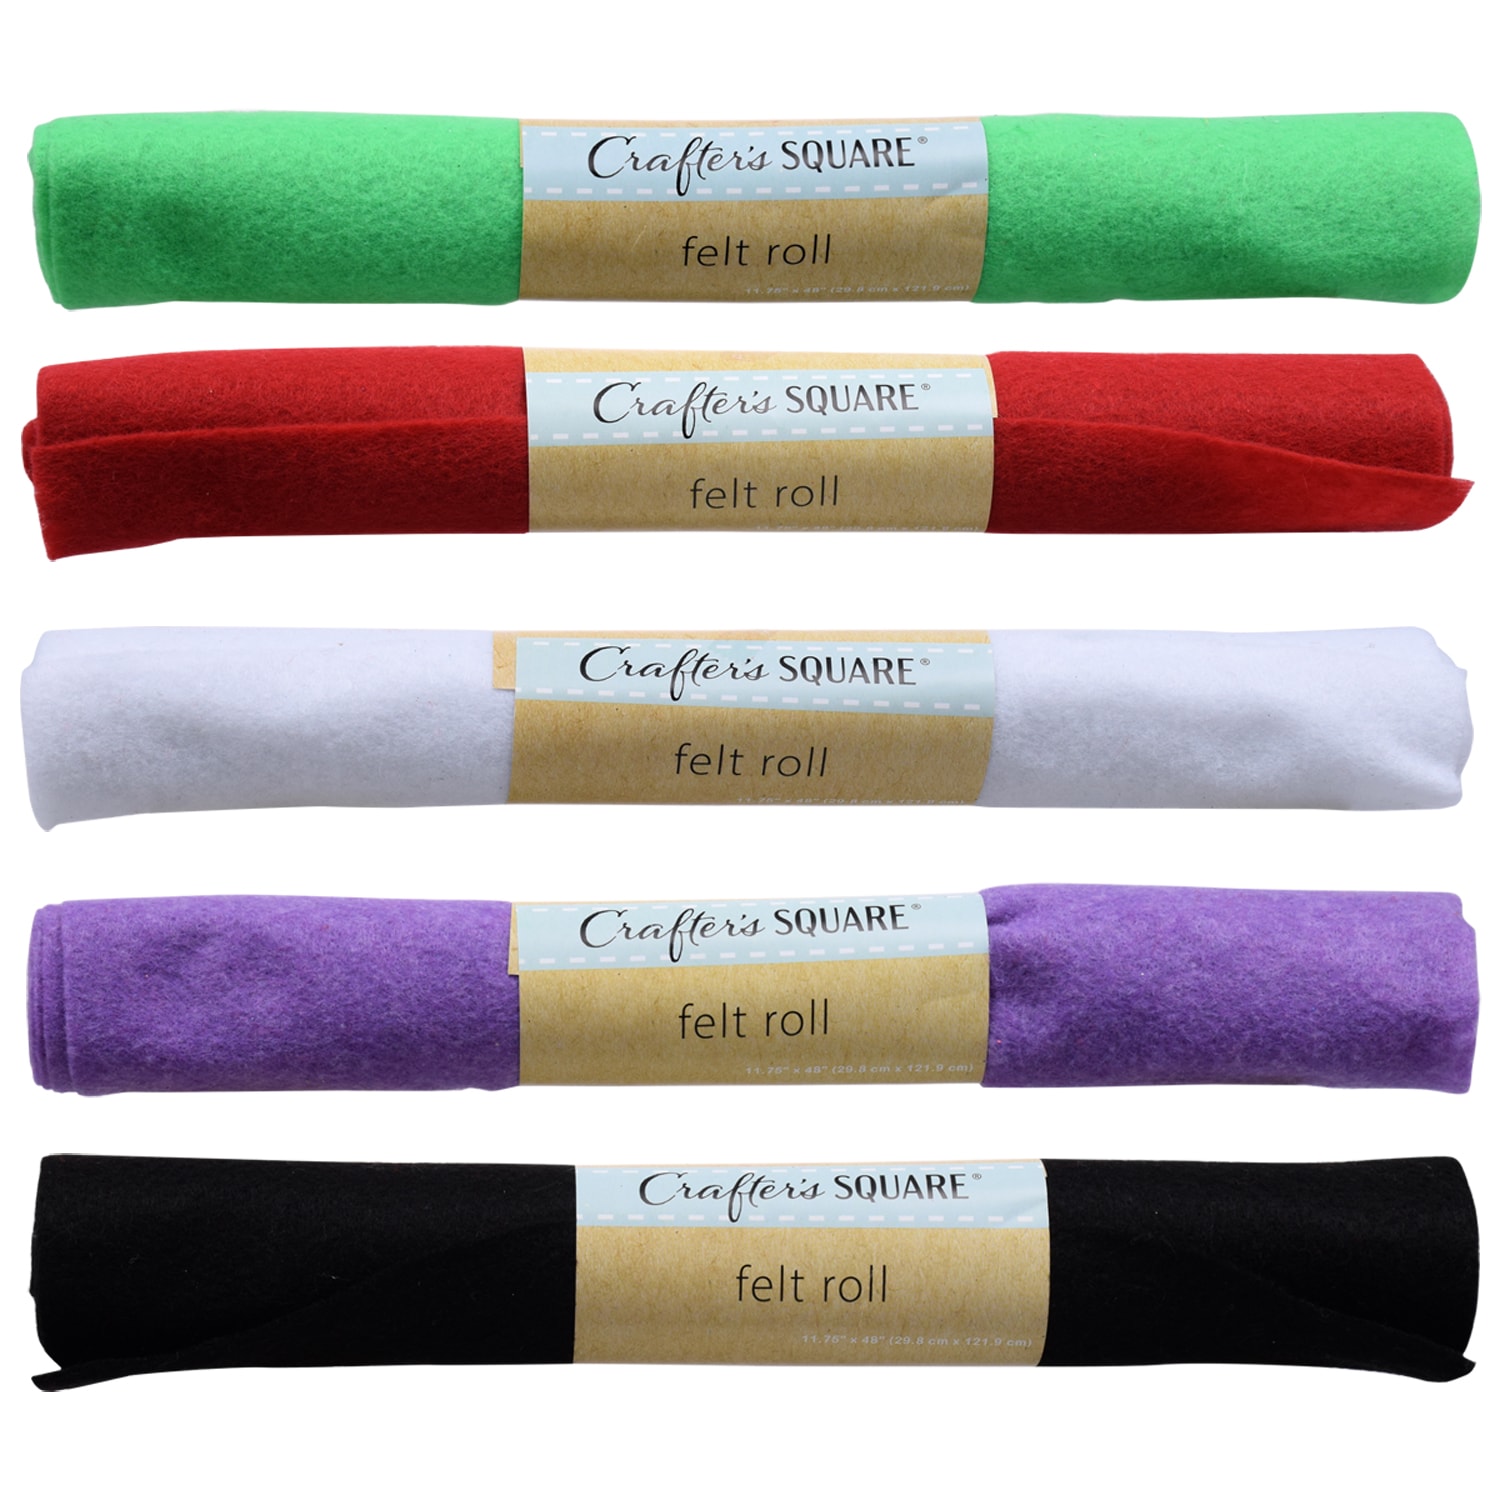
- Felt
- Cotton Balls
- Buttons
- Sewing Kit
- Yarn
- Ribbon (optional)
- Clothespins (optional)
- Catnip (optional)


Basic Instructions (Look for the Book if You Want Illustrated Step-by-Step Instructions)
- Cut out a egg shape on cardboard
- Use egg shaped cardboard as a guide to cut 2 pieces of felt a centimeter bigger than your cardboard the whole way around.
- Teach child to thread needle, or do it yourself.
- Teach child to tie knot, or do it yourself.
- Sew felt around cardboard leaving a 2 inch gap for stuffing. (use sewing pins or clothes pins to keep project from shifting)
- Stuff in cotton balls.
- Sew gap closed.
- Sew a slightly smaller light colored teardrop shape onto a larger darker colored teardrop shape to make an ear, then repeat.
- Sew on button eyes, both ears, and whatever felt shape (or pom-poms) you choose for your nose.
- Sew on ribbon or several loops of yarn as your door hanger.
- Trim 3 – 4 strands of yarn around 12 inches, fold in half, then tie a knot.
- Sew your yarn knot on your mouse’s bum to make the tail.
More Advice to Consider
Obviously my instructions were based on this idea but not an exact copy. We simplified by adding the tail and doorhanger at the end instead of trying to clip/pin all that together for sewing. You could absolutely pin your hanging ribbon and tail into your mouse before sewing and you would end up with a more finished looking final project.
We did not do this because it’s easier for kids to work with a minimal amount of pieces at a time. Sharp pins or clothes pins sticking out everywhere on your project is difficult for new sew-ers.
You could also sew the eyes, ears, and nose onto the top piece of felt before you stitched it around the cardboard. I thought that this would have made sewing buttons on much easier but that was not the way my oldest child decided to do it.
Sometimes you just have to let them do it their way and hope for the best. She completed the project just fine and we didn’t have to argue “best techniques”.
I loved the chosen materials for this project as felt holds it’s shape easily and the cardboard gives kids a guide to make their stitches against.
Before we started this project I warned my daughter that she was in fact going to stab herself with the needle (because it happens) so I told her to move slow to control the amount of damage she did to herself or others.
The other sewing instructions I gave was to keep sharp objects away from her eyes (obvious to us but kids can be wildly unobservant lol) and told her if she lost the needle we would quit the project until the lost needle was found. I don’t know about you but I don’t relish the idea of stepping on a needle in my bare feet so all needles and pins are always accounted for at my house.
This is actually why I prefer clothes pins over regular pins for sewing with kids. Number 1 it’s less sharp objects to keep track of, and 2 the kids stab themselves less and therefore are likely to still love sewing after the experience.
Now in honor of making this project inexpensive I recommended mostly Dollar Tree products but if you found a ton of this stuff at your house and you are looking to make your life easier I suggest getting these 2 things from Amazon.
Amazon Recommendations
Wonder Clips will make many projects so much easier (including paper projects) by holding everything together while you are trying to secure it. I used clothes pins and sewing pins before I purchased these this Christmas. They are a lot smaller and easier to sew around without knocking them off your project or stabbing yourself.

Recommendation number 2 is catnip! Your kiddo worked so hard to make this kitty toy and it’s super disappointing when snooty cat turns up his nose at their toy. If your cat is a nip fan this is rarely a problem as they will go wild for their new toy and put on a silly show for your kiddo. This isn’t super necessary but I bet it would make your crafty kid very happy to know kitty loves the new toy.

Again this project idea came from the book Gifts Kids Can Make by Sheila McGraw and there are still a few of these books available on Amazon. I hope they decide to reprint it at some point because it’s a really nice book that encourages kids to be generous and to create things.
Wrap Up
So I hope this post has given you some helpful tips around hand sewing with your kiddo. I am told it is a dying art but since I always enjoyed making things with my hands I am making sure to teach all of those I can in the next generation.
If you know of any craft books for kids similar to this one please share! We love checking out craft books in general and this one was wonderful because my daughter loves making things to give to friends and family.
Thanks so much for reading with me today, all visitors are super appreciated!
Take care and stay crafty!
Kat @craftingglow
Please pin to kid’s activity and craft boards and share to crafty families! Thanks so much😁😍

